
How to Polish Silver Like a Pro
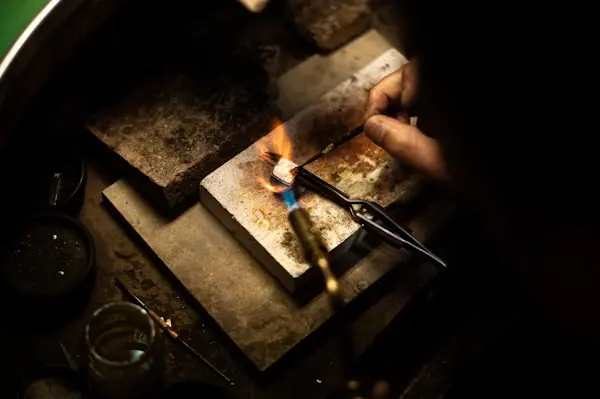
Polishing is the final step in silver jewellery making and the one that decides how a piece looks to a customer. Even a well-made piece looks unfinished if it is dull, scratched or stained. A professional finish comes from a clear sequence: remove defects first, then refine, then polish. Skipping steps is the most common reason home-made pieces never look showroom-ready.
Why polishing starts before you polish
Polish only makes a surface shine; it does not remove deep scratches, file marks or solder blobs. If those are still there, polishing simply makes them shinier and more visible. So the real work happens earlier:
- Remove excess solder and file marks with needle files.
- Sand in stages, moving from coarser to finer emery paper. Change direction between grades so you can see when the previous scratches are gone.
- Check under good light. If you can still see scratches, go back one grade.
Cleaning after soldering
Heating sterling silver can leave a dark oxide layer (fire scale) and flux residue. Pieces are cleaned in a pickle solution after soldering and then rinsed thoroughly in water. Always use non-ferrous tongs, follow the instructions for the pickle product you use, and work in a ventilated area.
Step-by-step polishing process
Step 1: Pre-polish (cutting)
Use a coarser polishing compound on a felt or cotton wheel, or on a rotary tool attachment, to remove the fine scratches left by sanding. Work with light pressure and keep the piece moving so you do not create flat spots or overheat thin areas.
Step 2: Clean between compounds
Wash the piece with warm water, mild soap and a soft brush to remove all compound residue. Mixing coarse residue into the final polish will scratch the surface again. Use separate wheels for each compound.
Step 3: Final polish (high shine)
Use a fine finishing compound, such as rouge, on a soft cotton or flannel wheel to bring up a mirror finish. Again, light pressure and constant movement give the best result.
Step 4: Final clean and dry
Wash once more, dry completely with a soft cloth, and finish with a jewellery polishing cloth.
Polishing safely with a motor
- Hold the piece against the lower front quarter of the wheel, where the wheel is turning down and away from you, so it throws the piece downwards if it catches.
- Never polish chains on a motor while holding them loosely; wrap them around a flat board first, as chains can catch and wrap around the spindle.
- Wear safety glasses and tie back hair and loose clothing.
- Use a dust mask, since polishing produces fine particles.
Hand polishing without a motor
If you do not have a polishing motor, you can still get a good finish: sand carefully through fine grades, then use polishing papers or sticks, and finish with a two-part polishing cloth. It takes longer but gives you more control on small or delicate pieces such as fine payal links.
Other finishes
Not every design needs a mirror shine. A satin or brushed finish (made with a fine abrasive pad or brass brush) hides small scratches and suits modern designs. Oxidised finishes, where recesses are darkened and high points polished, are common in traditional Indian silver jewellery and highlight detailed patterns.
Keeping silver bright after sale
Silver tarnishes when it reacts with sulphur compounds in the air. Advise customers to store jewellery in a closed pouch or box, keep it away from perfume and chemicals, and wipe it with a polishing cloth after wearing.
Practise the full finishing sequence
RPJ Making's online jewellery making courses demonstrate filing, cleaning and polishing on real silver pieces in Hindi video lessons. See also our list of essential jewellery tools.